Showing posts with label photos. Show all posts

Saturday, February 2, 2013

Jan Pots - Glazed


PLEASE NOTE:  I am selling a few 
of my pieces on MY ETSY Site.
Feel free to visit and peruse my wares.  
I am also available by email, if you have questions. 

Queen of the Load
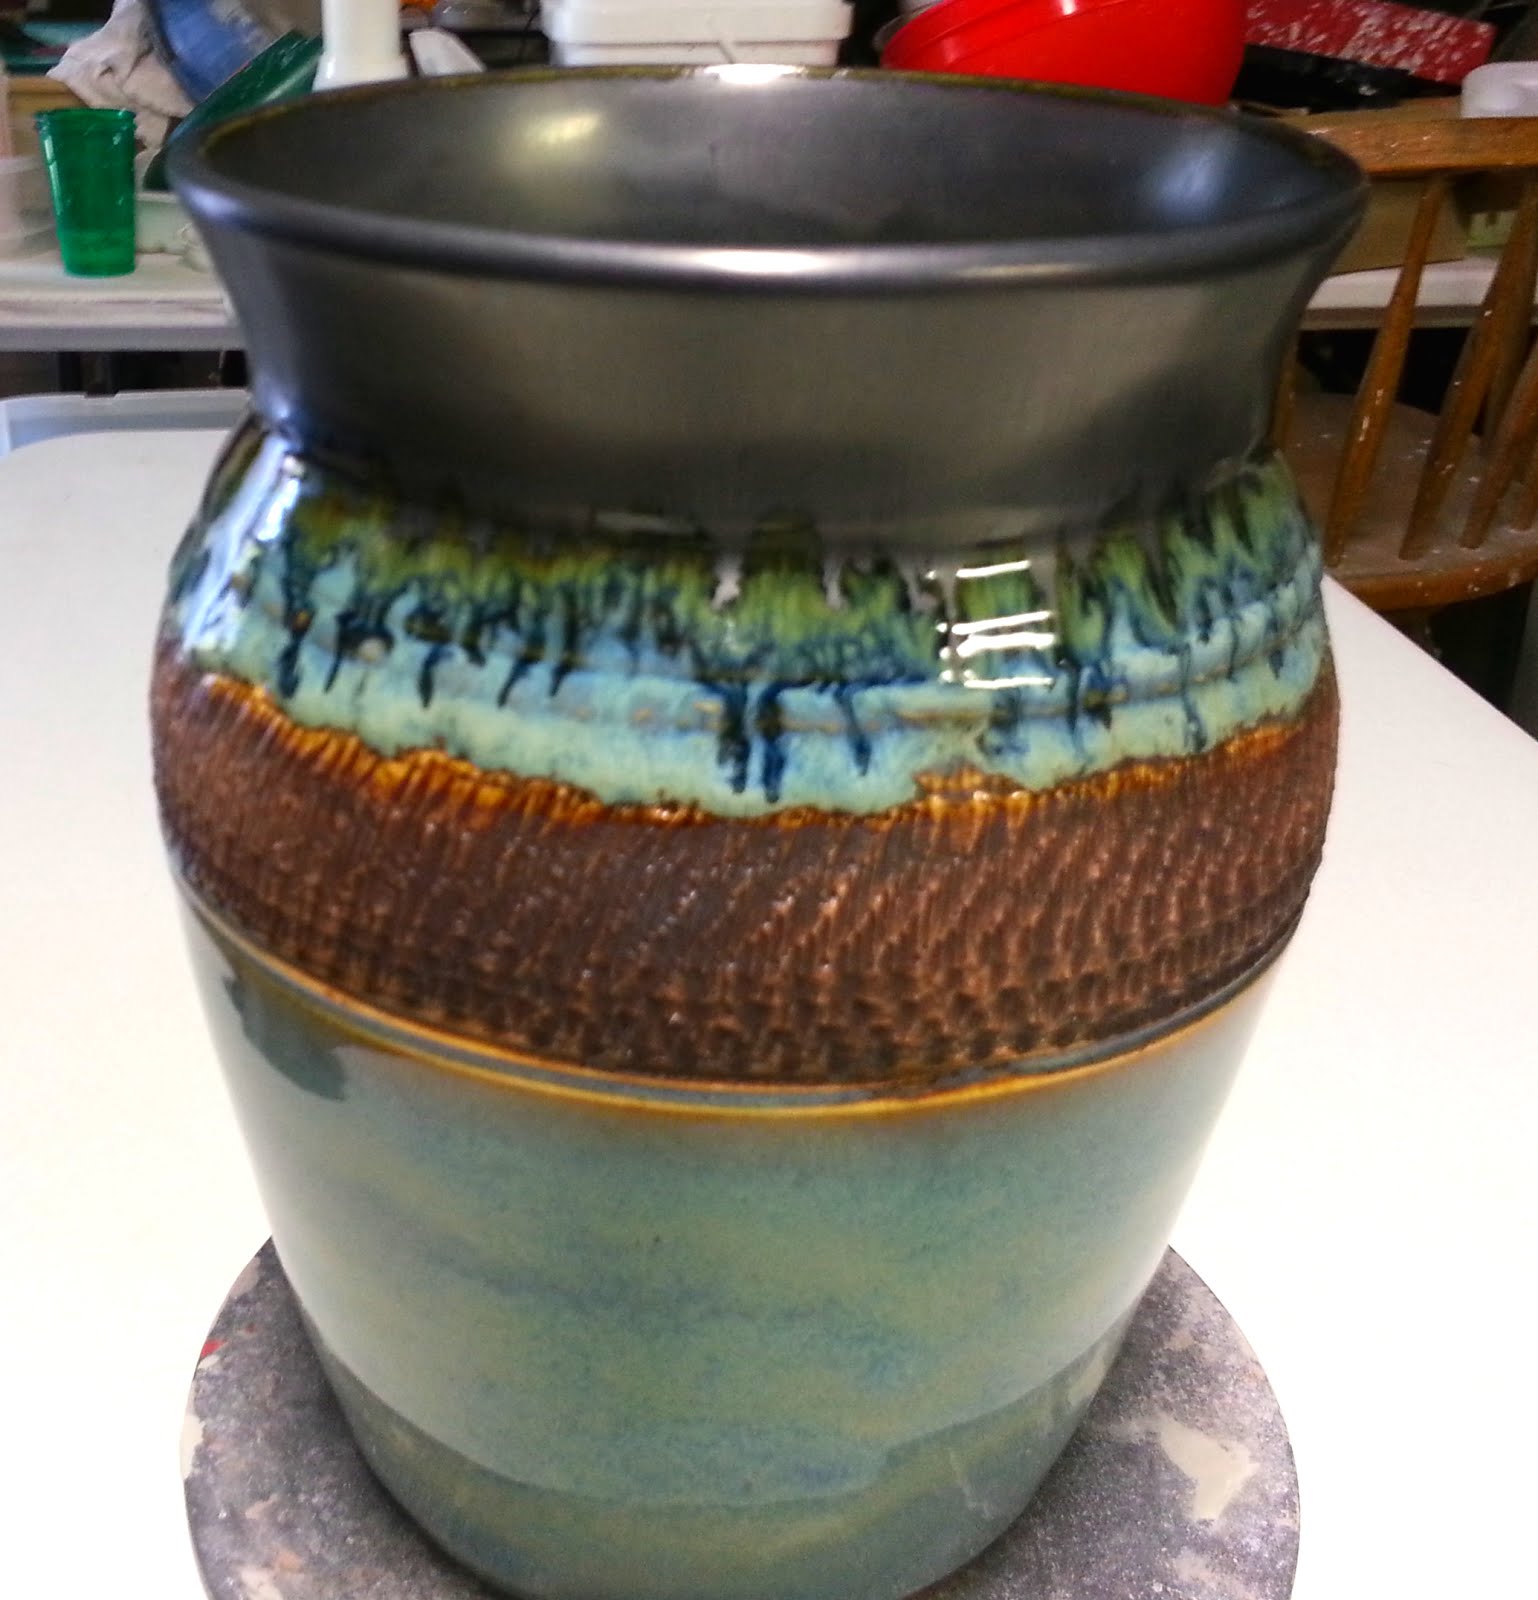
This glaze cycle was a bit of a departure for me. I had purchased 16 pints of Amaco Potters Choice glazes, in various flavors, in the hope that I could get some results that made me smile a bit more broadly than I had in the past. I must admit that some of the pots came out looking better than anything I have produced prior. But I must also admit that many of the pots that came out looking the best, were wearing my shop-mixed glazes. I spent the better part of two days glazing this one load of wear due to the care and precision I wanted to show in the finished results. The "Queen of the Load" was produced using all Amaco PC glazes and it was like Christmas when I got a look at the results.

In a future post I will list the combinations and show the results.  For now, here is a slideshow of my latest kiln load -

Thursday, January 17, 2013

January Pots

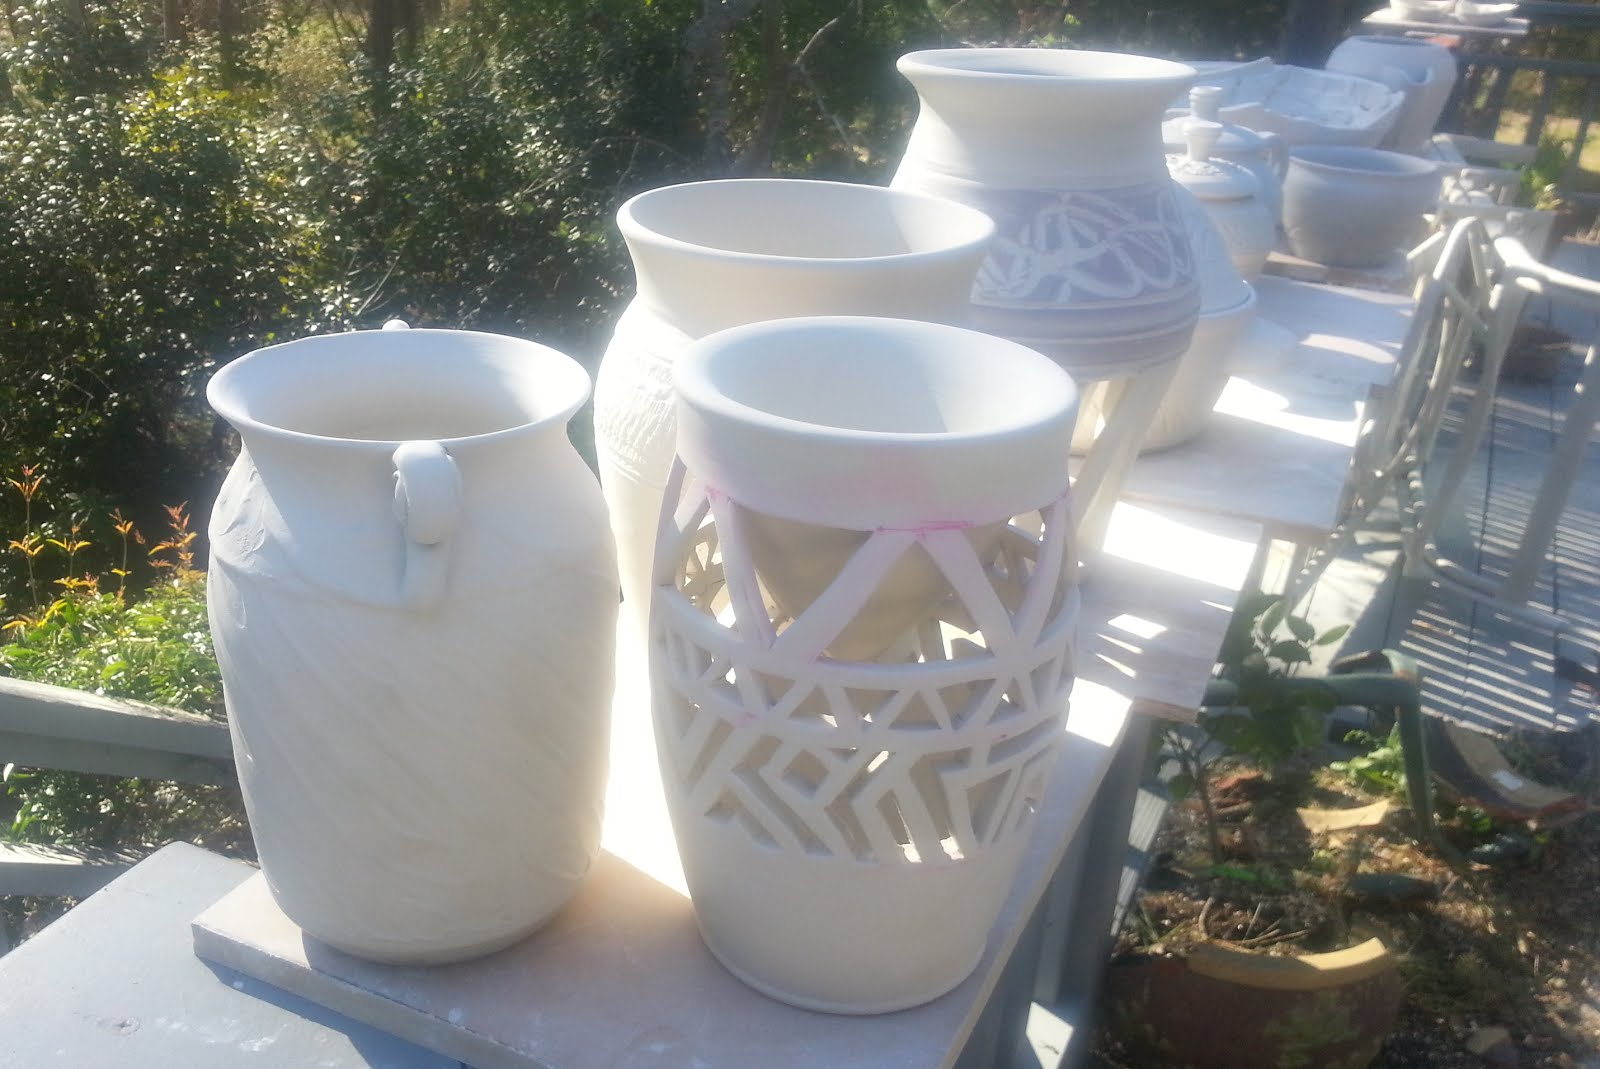
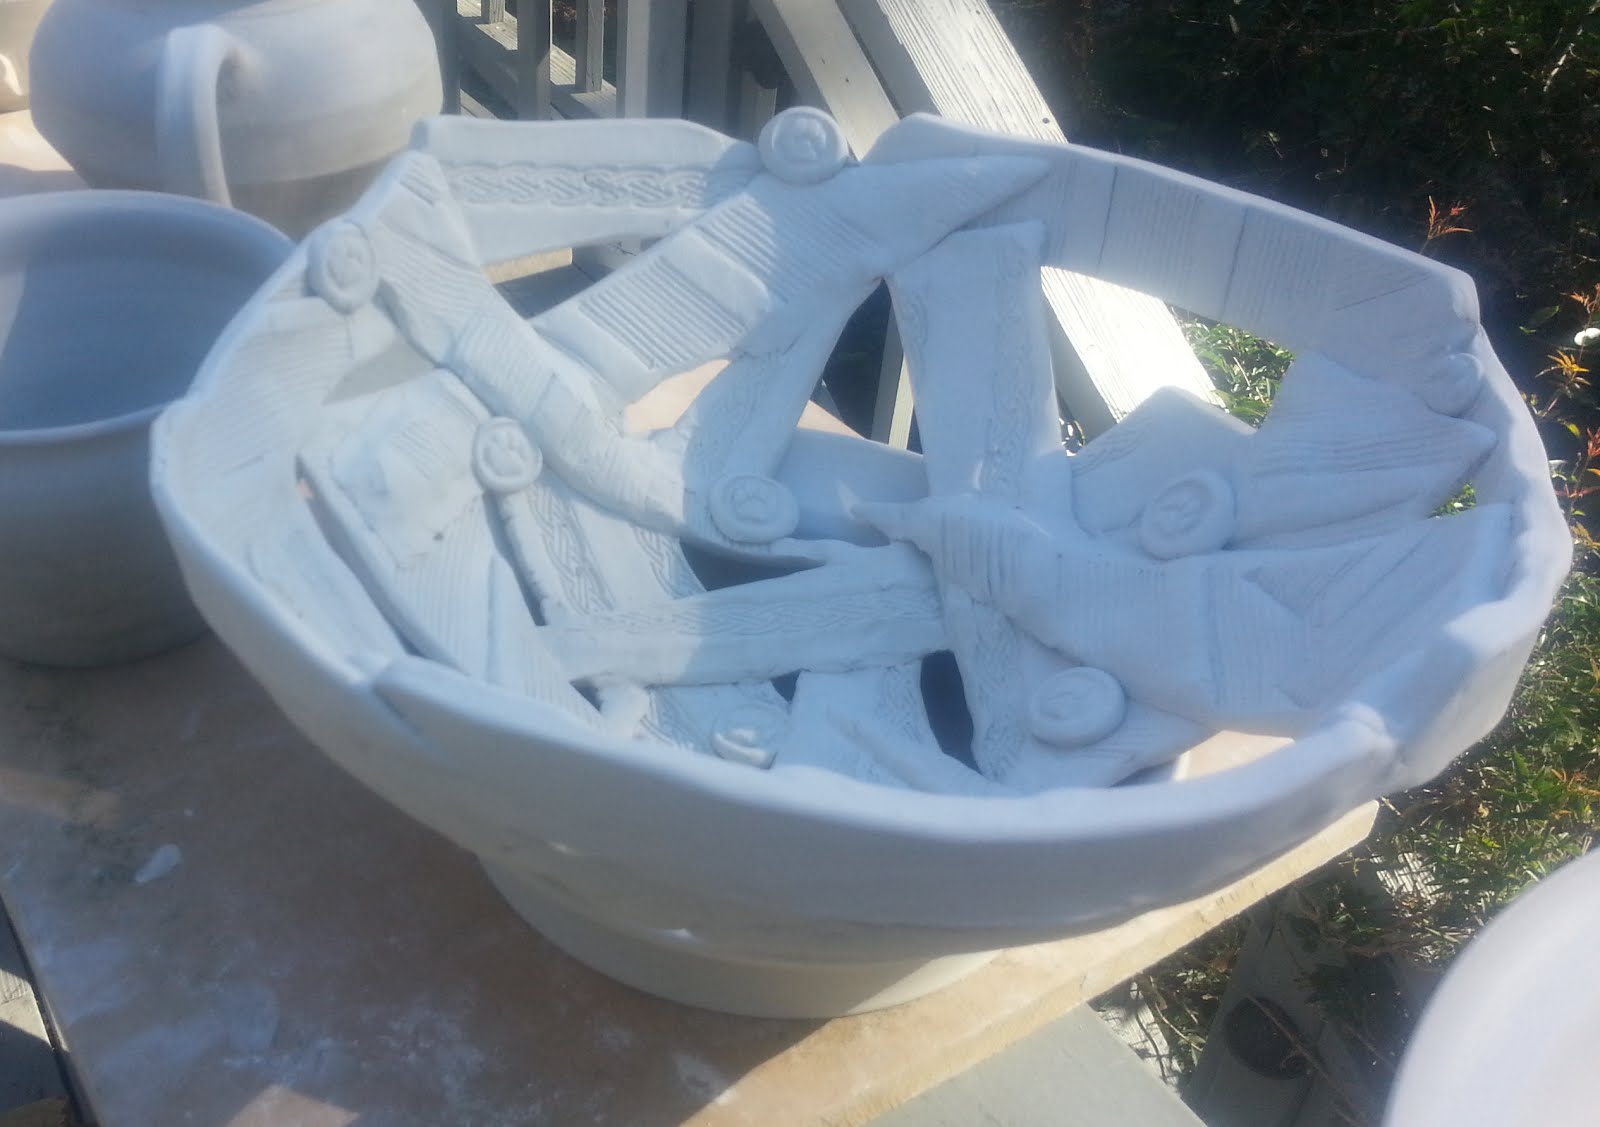
Every Winter I find myself in the studio working away. I had an earlier cycle in Nov-Dec that almost sold out at an impromptu sale at the Sally Loo's Natural Cafe in San Luis Obispo, owned by my Daughter and Son-in-Law. It was great to sit in the sprinkling rain while folks perused my work in the light of day. The stuff seemed to show well and I thank all who purchased one of my pieces! Anyway, I've spent a few hours in the studio and here are some pics of the latest cycle as it dries before bisque firing this week.


Thursday, July 12, 2012

July Pots

I got around to glazing my latest cycle of pots.  All of these are cone 6 "B-Mix" from Laguna Clay.  My next batch will include a number of porcelain 5 pieces, but that's down the road a bit. . .

 I managed to break my favorite tea-pot while glazing it, and my favorite 18" platter was sufficiently cracked to earn a trip to the trash bin - as did a nice thick based vase that had enough moisture to blow its foot off.   But some pieces make me happy.  Evolution can be very slow sometimes.

Here they are -


Find more photos like this on Electric Cone 6 & Other Ways w/ Clay


A 14" tall lidded vase with RIOX wash and Sapphire Blue glaze
A 14" flower pot with dragonfly motif using shellac resist


My favorite mug of the batch - it's now my daily drinker.


Sunday, April 29, 2012

April Pots

I just finished a cycle and this batch was special to me. . .
My journey through various methods and styles has slowly but surely led to a style that I can confidently state is mine.  I've enjoyed the experience and now am producing pots that have my style and do what I want them to do.  It's just clay . . . mud, if you will, and the effects on the world are minimal.  But if a life needs passion to be a full life, and this medium is a catalyst that allows my passions to emerge, then it's effect is well worth the time and efforts involved.

Here's the latest batch, fresh from the kiln -
The phone-cam photos are a bit rough, but you get an idea - click on the images for more detail.

Great outcome - no glaze runs, no stuck lids, a solid ^5 firing. . .

This teapot is very light

Cookie jar with design relief

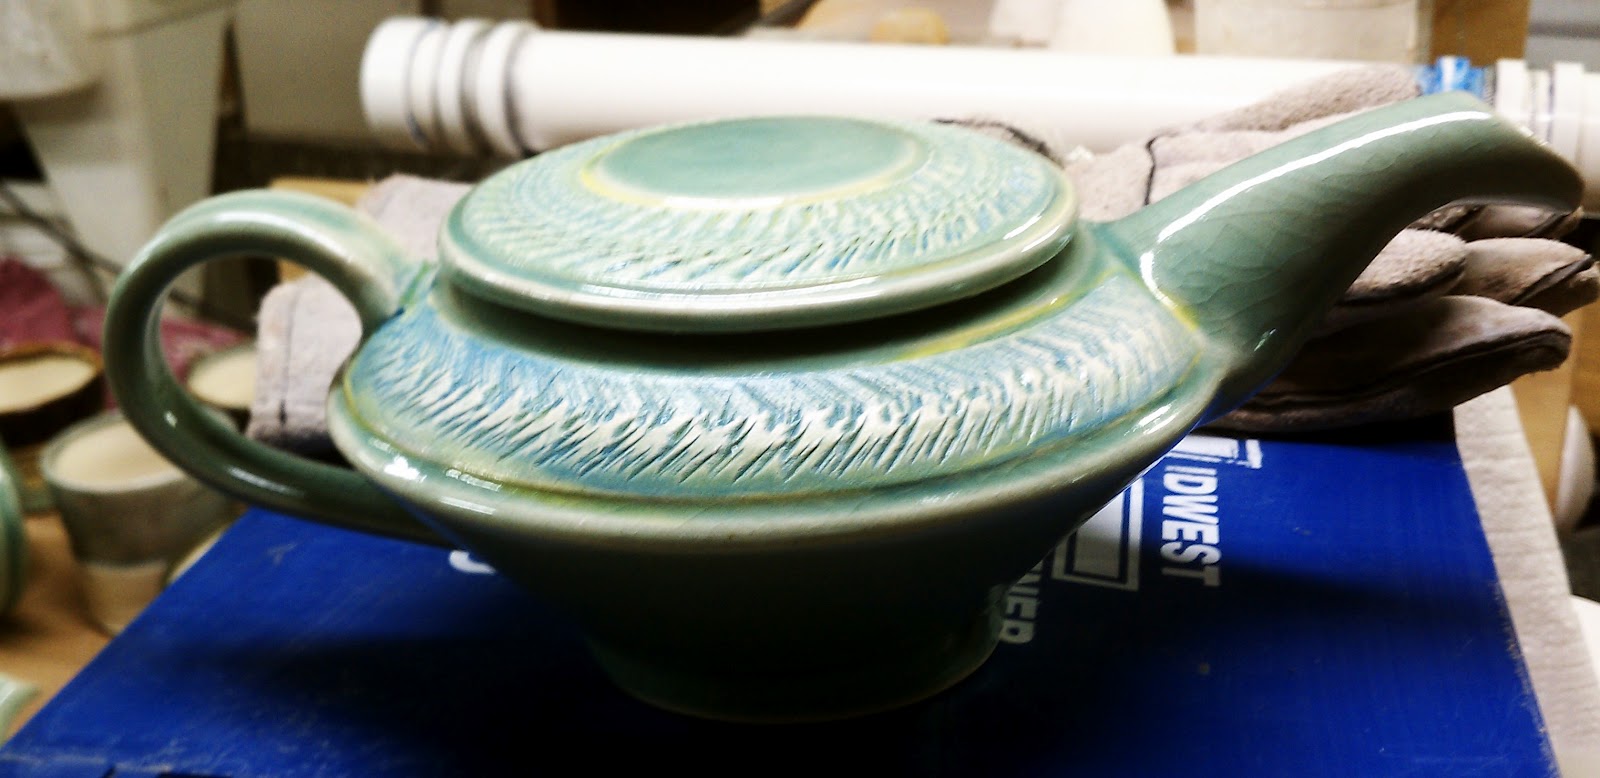
Genie Lamp Teapot

Udon Bowl

Experiment with Tenmoku glaze on inside, very nice results

Covered Casserole


A couple of the mugs -


Add caption
A 15" Platter


Friday, April 13, 2012

Slab Roller!

I decided to build a slab roller for my studio and went to the internet for guidance.  There are a couple of designs floating around, and I soon formulated some criteria -

1. The slab roller must be available as a table surface when not in use.
2. Construction must use relatively simple carpentry methods.
3. Cost must be less than $300US
4. The slab thickness should be easily and quickly adjusted

I found a set of plans and cut-sheet, along with some instructive videos at http://mypotterytools.com/index.html that seemed to meet my needs and capabilities.  A PDF version of the plans, with parts-list was very helpful.  The cut-sheet is set up to cut 2 sets of wooden parts, so I adjusted the cut sheet so that the grain was correctly oriented for the application.  I used a cabinet grade 3/4" plywood that I found at Home Depot and was very happy with it's strength and appearance.  No need for hardwoods or expensive plywood for this application.

EDIT It's become evident that the web address listed above is not available.  I have uploaded the plans and cut-sheet to my server so they are available to interested parties.  Select the "SLAB ROLLER PLANS" link at the top of this blog for the PDF plans and cut-sheet.

Also, please consider donating to the author at the above address, when it is online again - Timo

The only issue I came across, while building this tool, was when I glued the guide rings to the rollers.  I needed to use a "hot" blue colored glue to get a good bond and this left the visible residue in the video.  Because this is a tool - not an art piece - I can live with the residue as the price for a good bond.  The next one will be neater.

Here's a video of the project in my studio.


Tim
Home Made Slab Roller from Tim O'Neill on Vimeo.
A look at the design and use of my home-made ceramics slab roller.
Plans and info at www.mypotterytools.com/index.html (not my site)
For a look at some of my work, go to www.mudismymedium.com